English version was created automatically using Drupal module auto_node_translate and free DeepL translator.
Stripe Series #3: Implementing Payments
published on 2021-07-14
In today's episode, we will look at the actual implementation of payments. We have several options from integrating Stripe on our own site to using external partners that support Stripe.
There are quite a few options how to actually use Stripe to pay, and it's quite difficult to navigate at first. This article might help show what implementation options are available to us.

Stripe Checkout
https://stripe.com/en-cz/payments/checkout
https://stripe.com/docs/payments/checkout
https://stripe.com/docs/checkout/integration-builder
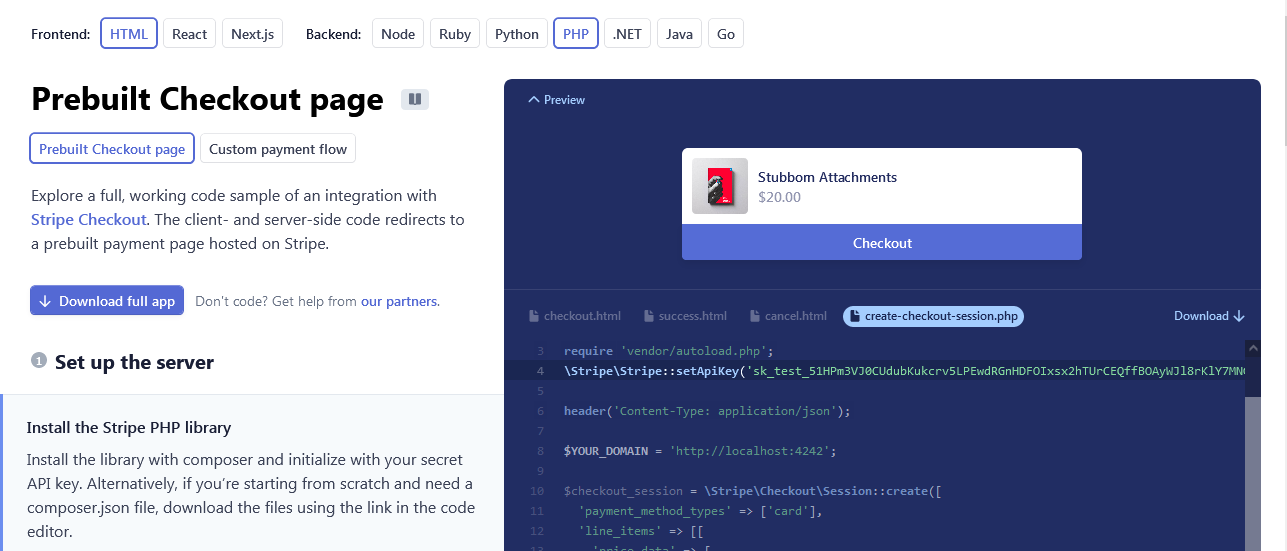
The first thing we come across is Stripe Checkout. On the documentation pages we find a simple sample implementation, for different types of frontend (HTML, React, Next.js) and backend (PHP, Python...).
It all starts with integrating the Stripe library https://github.com/stripe and inserting the right code into our page. After hitting the payment button, we are redirected to https://checkout.stripe.com/..., where the actual payment will take place. So, Stripe takes care of everything.
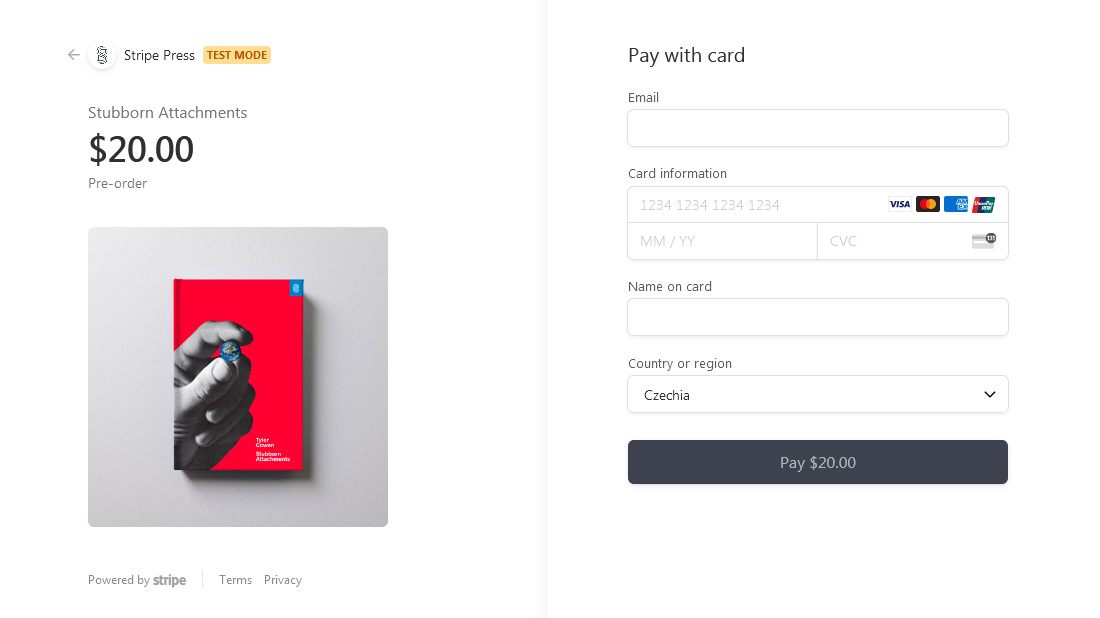
We have two options here to implement Stripe Checkout: Prebuilt Checkout page and Custom payment flow. Of course the second option gives us more customization.
Custom integration using PHP
In the beginning I had the idea that I would have Stripe payment completely under my own control, i.e. everything would be done in my application, on my server. This is also possible, just search for example "how to integrate stripe php". But such an approach has two disadvantages:
- You have to prepare, validate, check everything yourself... That's probably extra work.
- Payment exposed in this way would look untrustworthy to me. If it looked like a website was processing my payment information (card number ...) itself, I would have a lot of second thoughts about proceeding further.
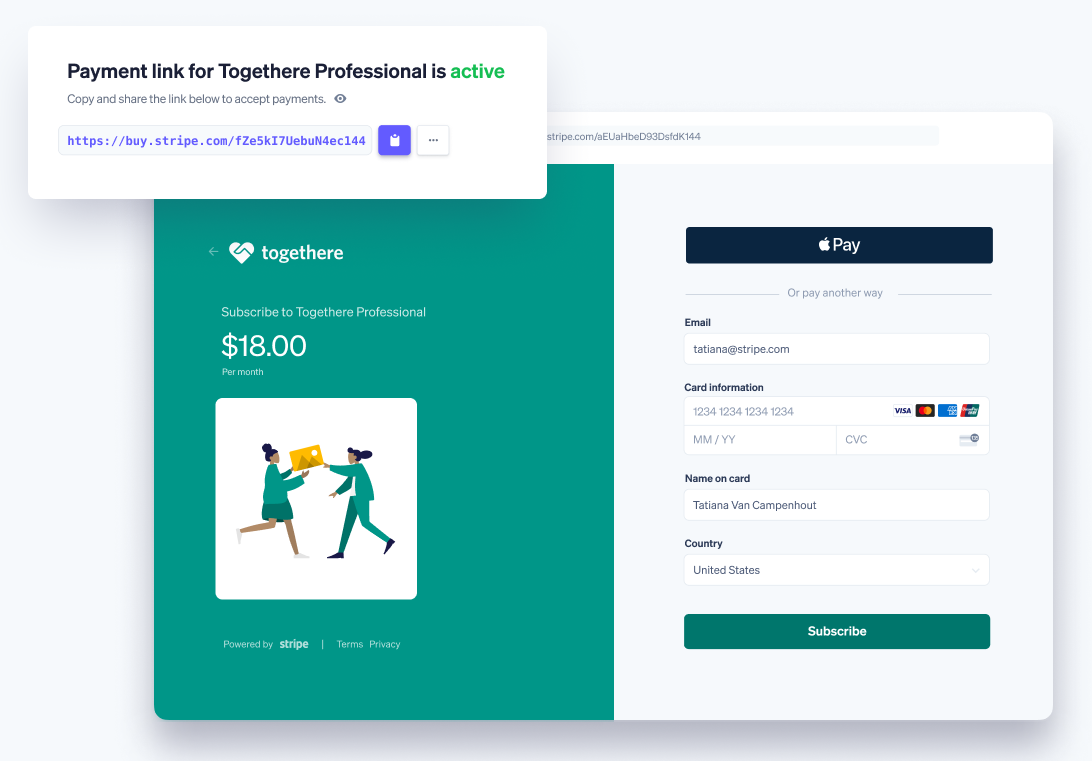
Stripe Payment links
https://stripe.com/en-cz/payments/payment-links
https://stripe.com/docs/payments/payment-links
In the last episode, we already showed how to create Payment links in Stripe Dashboard. If we have a Product defined, we can easily create a payment link for it that we can put on the web, email, share on social media...
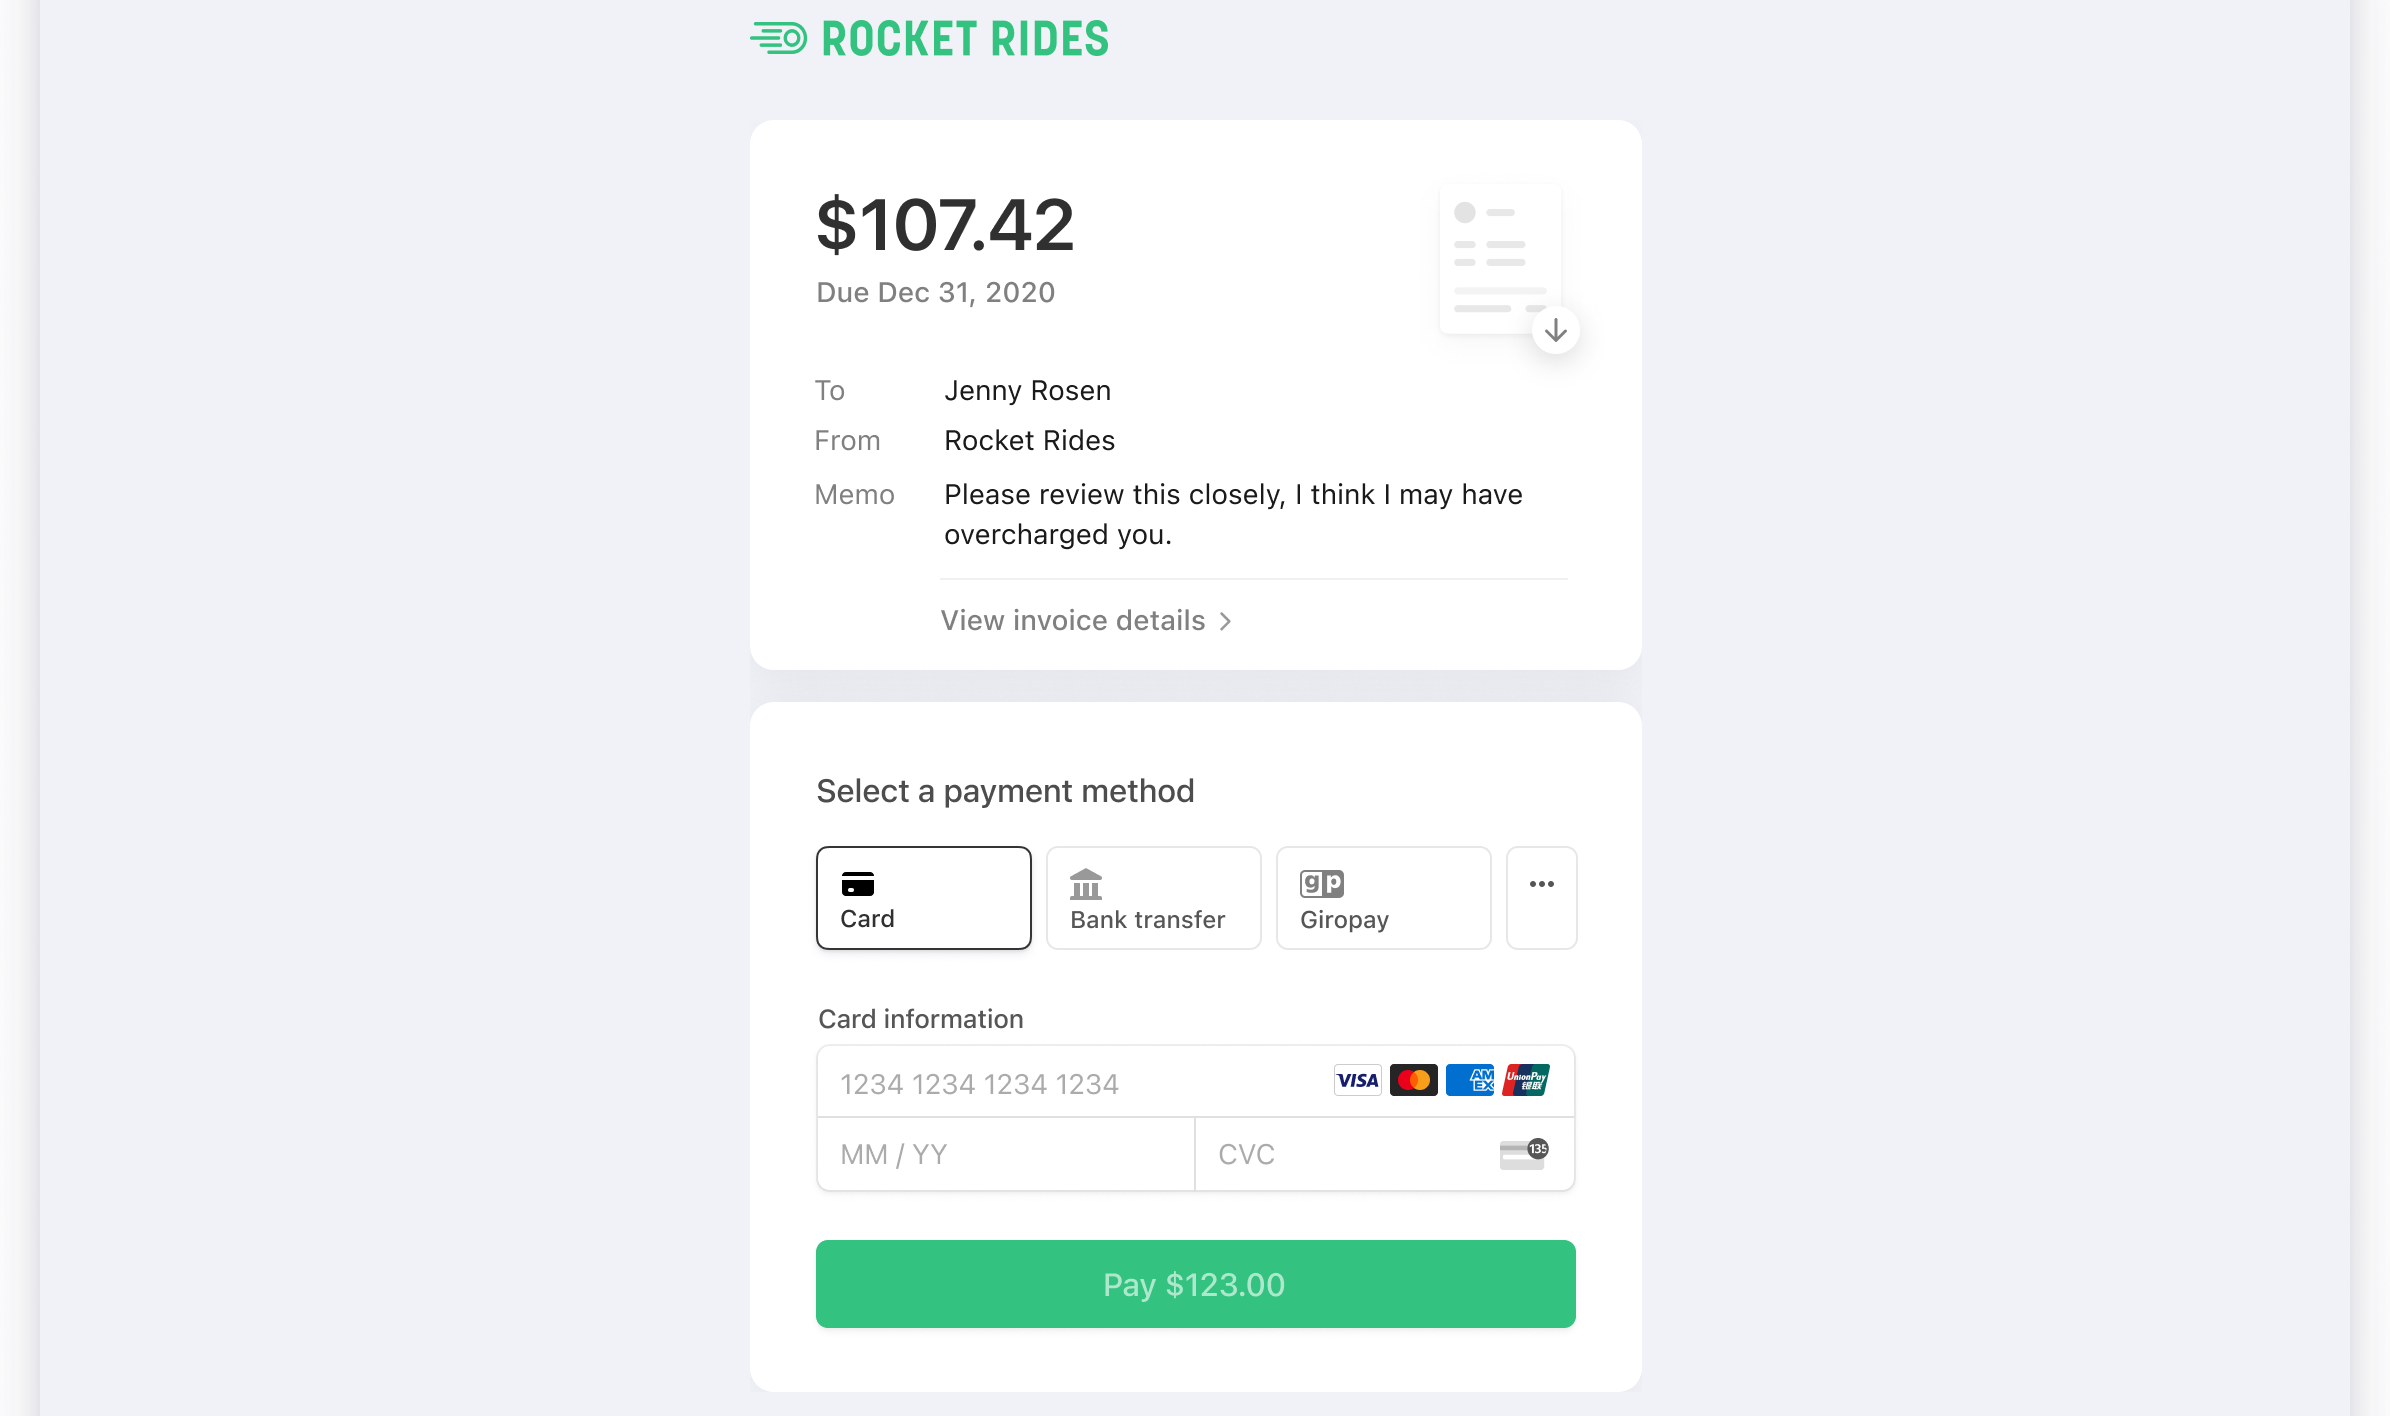
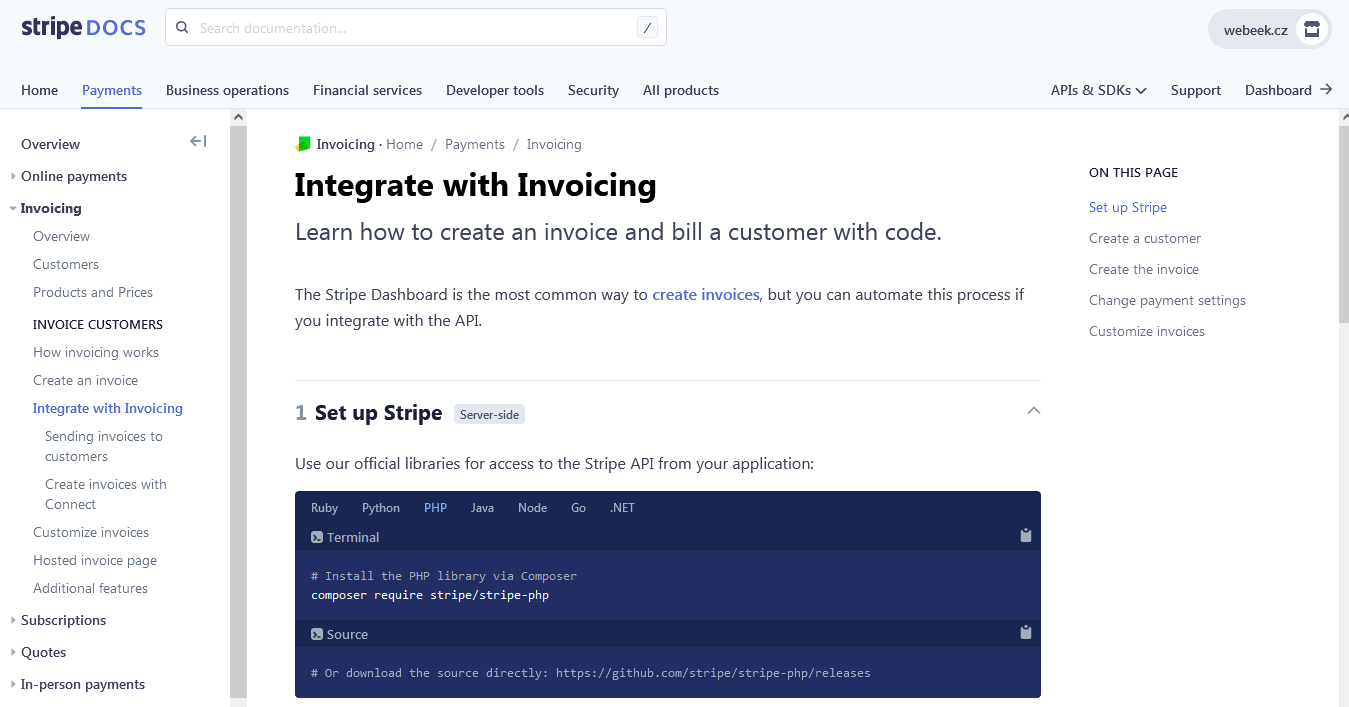
Stripe Invoicing - Hosted invoice page
https://stripe.com/en-cz/invoicing
https://stripe.com/docs/invoicing/hosted
My preferred method of payment as it is closest to what we are used to. The first step is to create an Invoice (invoice) for payment. We can do this from the Dashboard, but also using the API. Each Invoice must have at least one payment method set up, most likely a Credit card. The URL for the payment will then look like https://invoice.stripe.com/... , so again, we are not leaving a trusted Stripe domain.
Stripe Billing
https://stripe.com/en-cz/billing
https://stripe.com/docs/billing
Using Stripe Billing, we can set up a subscription payment system. I haven't had the need to investigate this further yet.
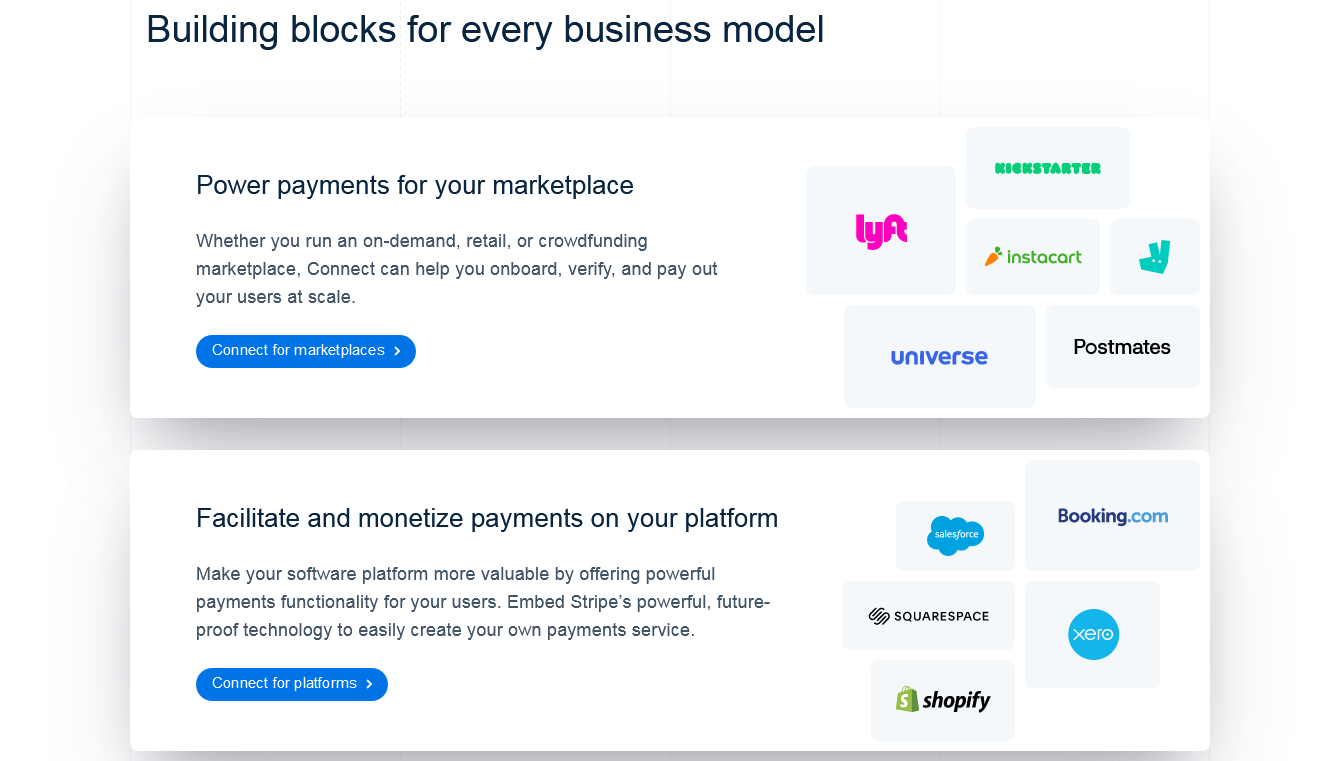
Stripe Connect
https://stripe.com/en-cz/connect
It is used to connect third party applications.
Stripe API
Everything we can do in the Stripe Dashboard can also be done using the API. Stripe offers its own library https://github.com/stripe for different programming languages. You can also use the curl command. It even offers its own Stripe CLI https://stripe.com/docs/stripe-cli, for command line fans.
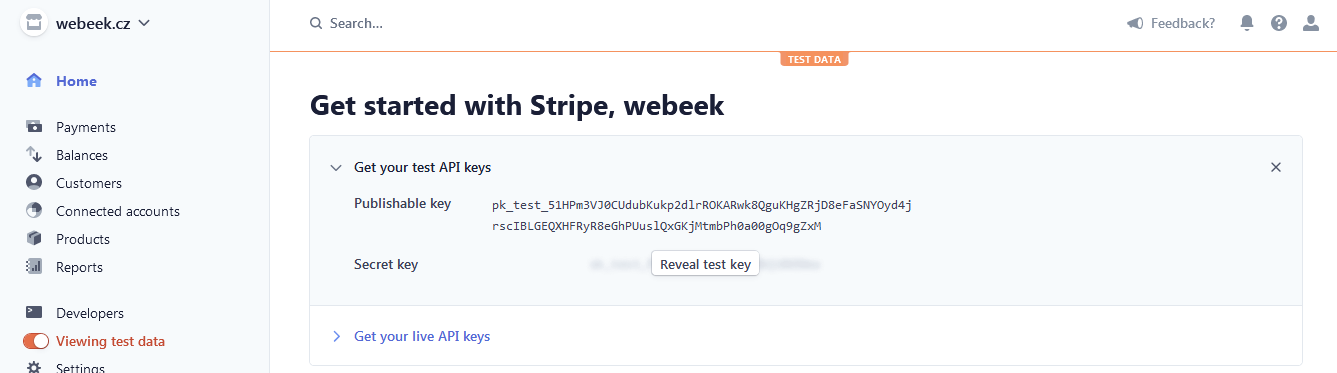
To use the API, you first need to get the API keys (Publishable and Secret). Again, this can be done for both Test and Live environments. The Sekret key, especially for Live mode, needs to be guarded like a blindfold. So be careful not to let it get into the versioning system, backups ... if you don't want it to.
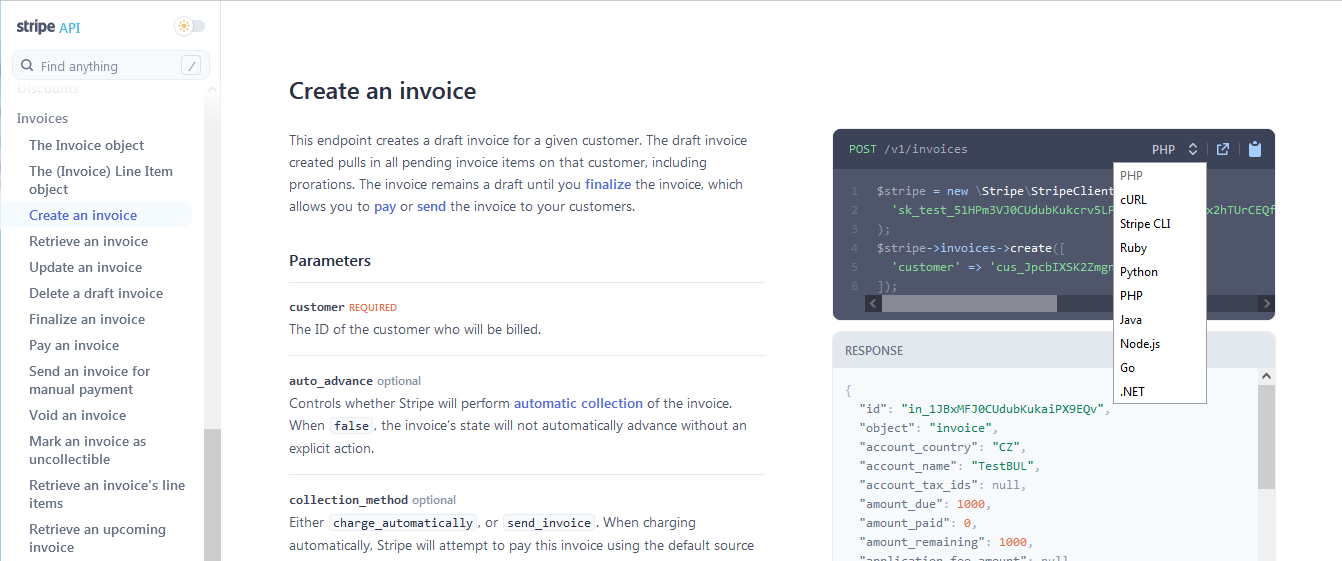
How to use the API is well documented at https://stripe.com/docs/api. You can see examples of how to use it at https://stripe.com/docs/.
Webhooks
https://stripe.com/docs/webhooks
With Webhooks, you can set Stripe to send the result of an action as a response to a specified URL, called an Endpoint, based on some Event = Event (e.g. after paying an Invoice). This makes it easy to send notifications about successful payments, or even just about attempted payments. Event can be set up for virtually any object defined in Stripe, such as Account, Balance, Charge, Customer ...
Conclusion
The third part of the series on Stripe was dedicated to payment options. There are quite a few, depending on what we want to do and how we want to do it. Personally, I recommend using Stripe Invoicing because that's the way we commonly use. So, we will look at this method in more detail in the next installment, where we will also look at Drupal interrogation.